
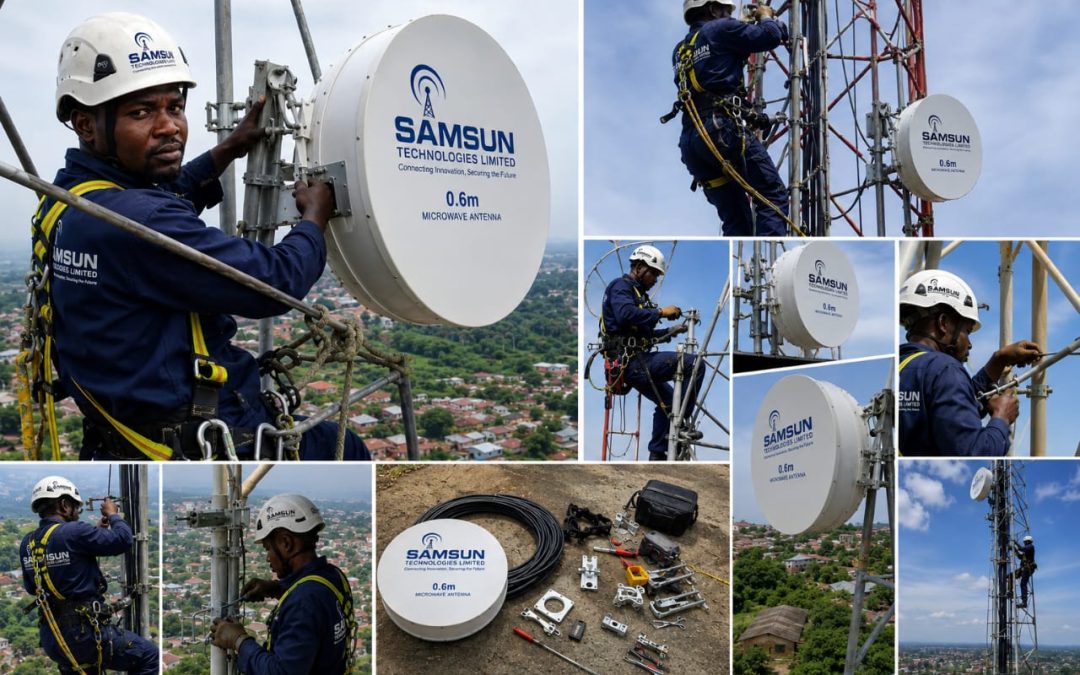
Installing and Mounting a Telecom Microwave Dish: A Step-by-Step Guide
Published by: Samsun Technologies Ltd.
Reliable communication networks depend on properly installed telecom microwave dishes. Whether you’re deploying a point-to-point wireless link for an internet service provider, corporate organization, or telecommunications company, proper installation and alignment are essential for achieving maximum signal strength, network reliability, and long-term performance.
In this guide, we walk you through the basic process of installing and mounting a telecom microwave dish.
What Is a Telecom Microwave Dish?
A telecom microwave dish is a high-frequency antenna used to transmit and receive data wirelessly between two distant locations. These systems are widely used by telecommunications companies, internet service providers (ISPs), government agencies, and corporate organizations to establish reliable communication links.
Equipment Required
Before beginning the installation, ensure you have the following:
- Microwave dish antenna
- Mounting bracket and hardware
- Radio Unit (ODU)
- Waveguide or RF cables
- Ethernet cable
- Power over Ethernet (PoE) equipment
- Safety harness and PPE
- Adjustable spanners and socket set
- Compass or GPS
- Alignment tools
- Signal analyzer or laptop with alignment software
Step 1: Conduct a Site Survey
A detailed site survey helps determine whether the installation location is suitable.
During the survey, technicians should:
- Verify line-of-sight (LOS) between both sites.
- Check tower height requirements.
- Identify possible obstructions such as trees or buildings.
- Confirm structural integrity of the tower.
- Evaluate environmental conditions.
Proper planning minimizes installation issues and improves network performance.
Step 2: Observe Safety Procedures
Safety should always come first.
Before climbing the tower:
- Wear a certified safety harness.
- Use a safety helmet, gloves, and protective boots.
- Inspect climbing equipment.
- Ensure weather conditions are suitable.
- Never work alone.
Step 3: Install the Mounting Bracket
Secure the mounting bracket firmly to the telecom tower or mast.
Ensure that:
- All bolts are tightened.
- The bracket is level.
- The mount is capable of supporting the dish under strong wind conditions.
A stable mounting structure is essential for maintaining accurate alignment.
Step 4: Mount the Microwave Dish
Carefully lift the microwave dish onto the mounting bracket.
Once positioned:
- Attach all mounting bolts.
- Leave slight flexibility for alignment adjustments.
- Install the Outdoor Unit (ODU) according to the manufacturer’s specifications.
Avoid overtightening until alignment is complete.
Step 5: Connect the Equipment
Connect the necessary components, including:
- RF cables or waveguides
- Ethernet cables
- Power supply
- Grounding cables
- Lightning protection equipment
Proper cable management improves safety and simplifies maintenance.
Step 6: Align the Microwave Dish
Alignment is one of the most critical stages of the installation.
Using signal monitoring tools:
- Rotate the dish horizontally (Azimuth).
- Adjust vertically (Elevation).
- Fine-tune until maximum signal strength is achieved.
- Confirm signal quality, throughput, and stability.
Even a slight misalignment can significantly reduce network performance.
Step 7: Tighten and Secure the Installation
After achieving optimal alignment:
- Tighten all mounting bolts securely.
- Recheck alignment.
- Secure cables using UV-resistant cable ties.
- Install weatherproofing where necessary.
This ensures the installation remains stable over time.
Step 8: Perform System Testing
Before commissioning the link, carry out comprehensive tests:
- Signal strength
- Signal-to-noise ratio (SNR)
- Packet loss
- Throughput
- Latency
- Link availability
Successful testing confirms that the installation meets operational requirements.
Common Installation Mistakes to Avoid
- Poor line-of-sight planning
- Loose mounting brackets
- Improper grounding
- Incorrect dish alignment
- Low-quality cable installation
- Ignoring weatherproofing
- Inadequate safety procedures
Avoiding these mistakes helps maximize network uptime and equipment lifespan.
Why Professional Installation Matters
Professional installation ensures:
- Maximum signal performance
- Reliable network connectivity
- Reduced downtime
- Compliance with industry standards
- Improved equipment longevity
- Safe and secure installations
At Samsun Technologies Ltd., our experienced engineers specialize in microwave installation, telecom infrastructure deployment, ICT consultancy, network engineering, and technical support, delivering reliable solutions for businesses and organizations across various industries.
Conclusion
Installing and mounting a telecom microwave dish requires careful planning, technical expertise, and strict adherence to safety standards. From conducting a thorough site survey to precise antenna alignment and final testing, every step plays a vital role in achieving a stable, high-performance communication link.
If you need professional microwave installation, telecom infrastructure deployment, or ICT consultancy services, Samsun Technologies Ltd. is ready to deliver reliable, efficient, and industry-standard solutions tailored to your needs.
Need expert telecom installation services? Contact Samsun Technologies Ltd. today and let our certified professionals help you build a reliable communication network.